 by
by -Classic Chicken Biryani Recipe (Restaurant-Style):
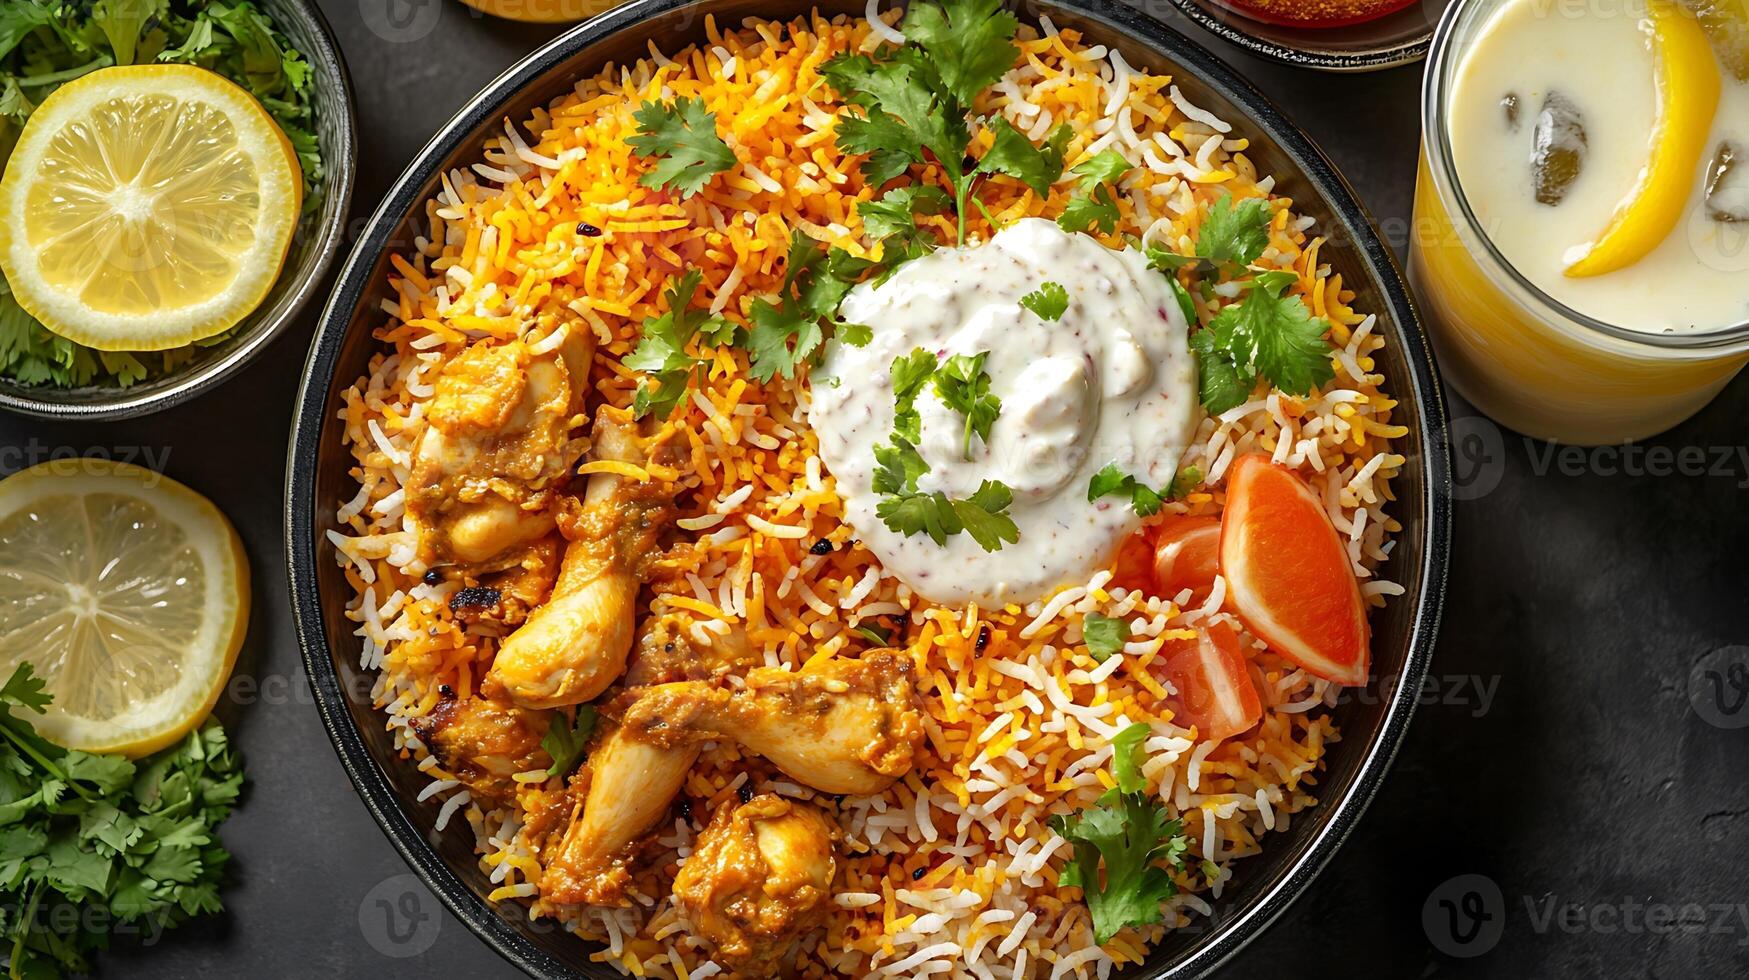
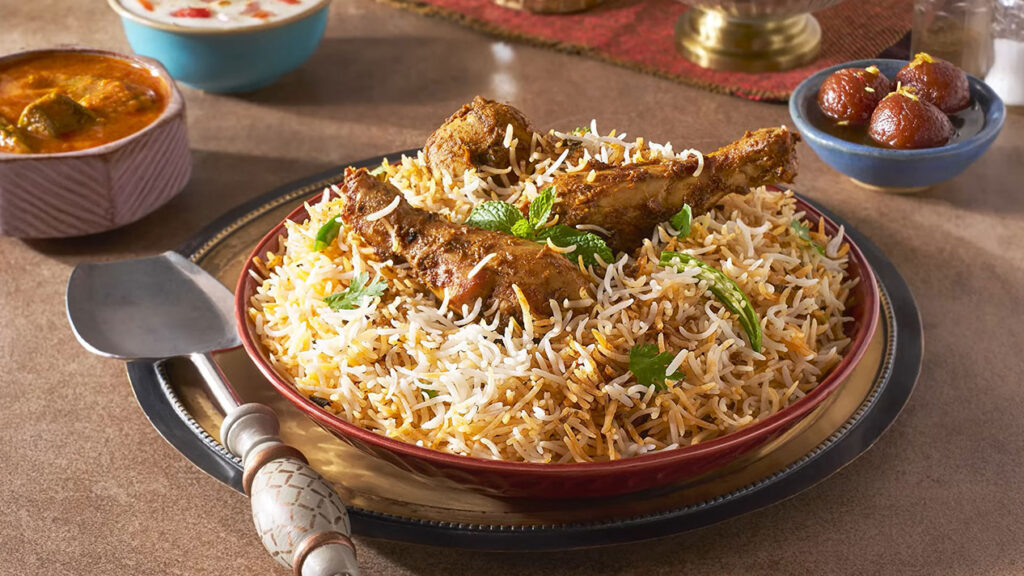
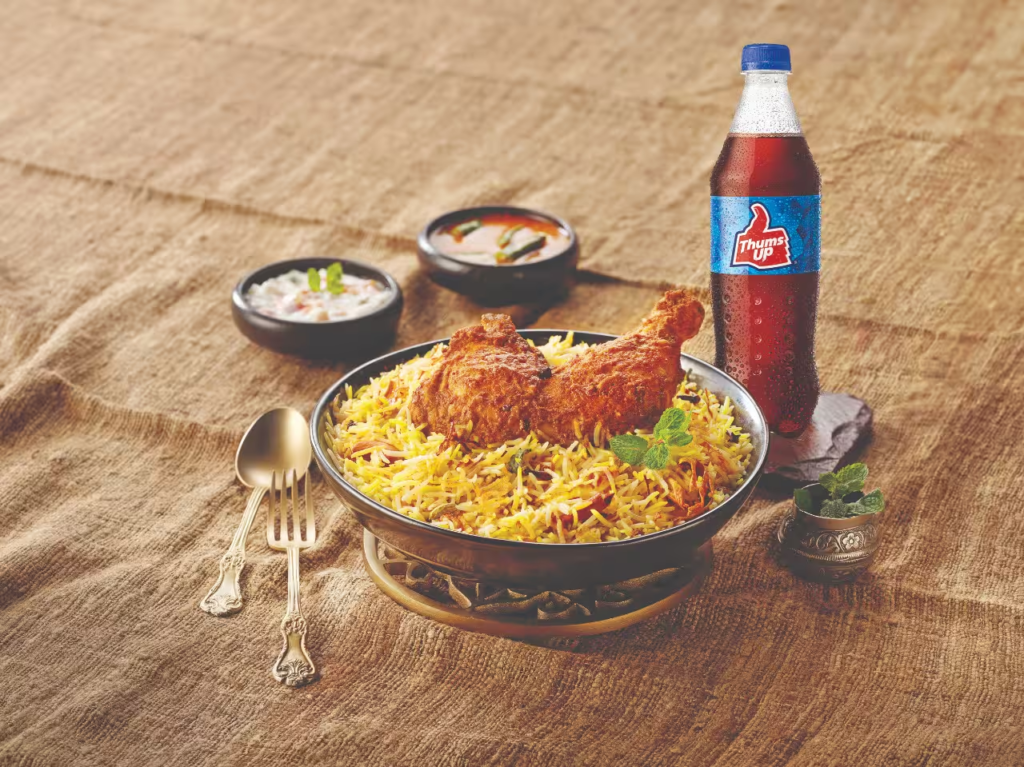
Chicken Biryani is a rich and aromatic rice dish that stands as a true symbol of South Asian cuisine. Made by layering fragrant basmati rice, tender meat or vegetables, slow-cooked spices, and fresh herbs, biryani is traditionally prepared using the dum method, where the dish is sealed and gently steamed to lock in deep, complex flavors. Every grain of rice remains fluffy and infused with the essence of saffron, ghee, caramelized onions, mint, and whole spices.
More than just a meal, biryani is an experience of taste, aroma, and tradition. From festive gatherings to family dinners, it brings people together with its bold spices and comforting warmth. Whether it’s chicken, beef, mutton, or vegetable, biryani delivers a perfect balance of spice, richness, and satisfaction that makes it one of the most loved dishes across Pakistan, India, and beyond.
Ingredients & Quantity Table
🔸 Chicken Marination
| Ingredient | Quantity |
|---|---|
| Chicken (bone-in) | 1 kg |
| Yogurt | 1 cup |
| Ginger-garlic paste | 2 tbsp |
| Red chili powder | 1½ tsp |
| Turmeric powder | ½ tsp |
| Coriander powder | 1½ tsp |
| Garam masala | 1 tsp |
| Lemon juice | 2 tbsp |
| Salt | To taste |
| Fresh mint (chopped) | ½ cup |
| Fresh coriander (chopped) | ½ cup |
🔸 Rice Preparation
| Ingredient | Quantity |
|---|---|
| Basmati rice | 750 g (3½ cups) |
| Water | As required |
| Bay leaves | 2 |
| Green cardamom | 4 |
| Cloves | 6 |
| Cinnamon stick | 1 |
| Salt | 1½ tbsp |
🔸 Biryani Masala & Layering
| Ingredient | Quantity |
|---|---|
| Onions (thinly sliced) | 4 large |
| Cooking oil | ¾ cup |
| Ghee | ¼ cup |
| Green chilies | 4–5 |
| Saffron soaked in milk | ¼ cup |
| Kewra water | 1 tbsp |
| Rose water | 1 tbsp |
Step-by-Step Cooking Method
Step 1: Marinate the Chicken
- Mix all marination ingredients in a bowl.
- Add chicken and coat well.
- Cover and marinate for at least 2 hours (overnight for best flavor).
Step 2: Fry the Onions
- Heat oil in a deep pan.
- Fry onions on medium heat until golden brown & crispy.
- Remove half for layering; keep the rest in the pan.
Step 3: Cook the Chicken
- Add marinated chicken to the same pan.
- Cook on medium heat for 15–20 minutes until oil separates.
- Chicken should be 70–80% cooked.
Step 4: Boil the Rice
- Wash and soak rice for 30 minutes.
- Boil water with whole spices and salt.
- Add rice and cook until 70% done.
- Drain immediately.
Step 5: Layer the Biryani
- Spread a layer of rice over chicken.
- Add fried onions, mint, coriander, saffron milk, kewra & rose water.
- Repeat layers; finish with rice on top.
- Drizzle ghee.
Step 6: Dum Cooking
- Cover tightly with lid or foil.
- Cook on low flame for 25–30 minutes.
- Rest for 10 minutes before serving.
Pro Tips for Perfect Biryani
- Always use aged basmati rice
- Bone-in chicken gives deeper flavor
- Keep rice slightly undercooked before dum
- Seal pot properly to trap steam
- Use ghee for authentic aroma
Common Mistakes to Avoid
| Mistake | Why It Ruins Biryani |
|---|---|
| Overcooked rice | Turns mushy |
| Too much water | Dilutes flavor |
| Skipping marination | Bland chicken |
| High flame during dum | Burns bottom |
| Mixing layers early | Breaks rice grains |
Benefits of Key Ingredients
| Ingredient | Health Benefits |
|---|---|
| Basmati Rice | Low GI, easy digestion |
| Chicken | High-quality protein |
| Yogurt | Improves gut health |
| Ginger & Garlic | Boost immunity |
| Mint & Coriander | Aids digestion |
| Saffron | Enhances mood & aroma |
Calories Count (Approx. per Serving)
| Component | Calories |
|---|---|
| Basmati rice | 260 kcal |
| Chicken | 280 kcal |
| Oil & ghee | 180 kcal |
| Yogurt & spices | 80 kcal |
| Total | ~800 kcal |
(Values may vary depending on portion size)
Serving Suggestions
- Raita (yogurt dip)
- Fresh salad
- Lemon wedges
- Cold drink or mint chutney
Why chicken biryani works everywhere?
It’s affordable, flavorful, filling, easy to scale for crowds, and universally loved making it perfect for both grand occasions and simple family meals.
For a proper recipe of chicken biryani do check out the link below:
https://share.google/WXRzIecQdH7cPqRGu
🏷️ Tags
#ChickenBiryani #PakistaniFood #HomemadeBiryani #RiceRecipes #TraditionalCuisine #DesiFood #BiryaniLovers #FoodGuide #StepByStepRecipe